


▼ Spring Boot + React 프로젝트 생성 1
[Spring] Spring Boot + React 프로젝트 생성 1
Spring Initializr를 이용하여 Spring Boot 프로젝트를 생성하고React와 연동을 해보자! [Backend]- Spring Boot (Gradle/JAR) - Eclipse [Frontend]- React (Node.js)- VSCode Spring Boot 프로젝트 만들기 1) 먼저 https://start.
cottoncandysom.tistory.com
React 설정
1) 새 cmd 창을 열어 react 프로젝트 경로로 이동한다
그리고 아래 명령어를 순서대로 입력한다.
- package.json 파일 의존성 설치
npm install
- 배포 환경에서 사용할 파일을 생성
npm run-script build

- create-react-app의 종속성 꺼내기
npm run eject
실행하면 중간에 y/N 선택하라고 하는데 y 입력

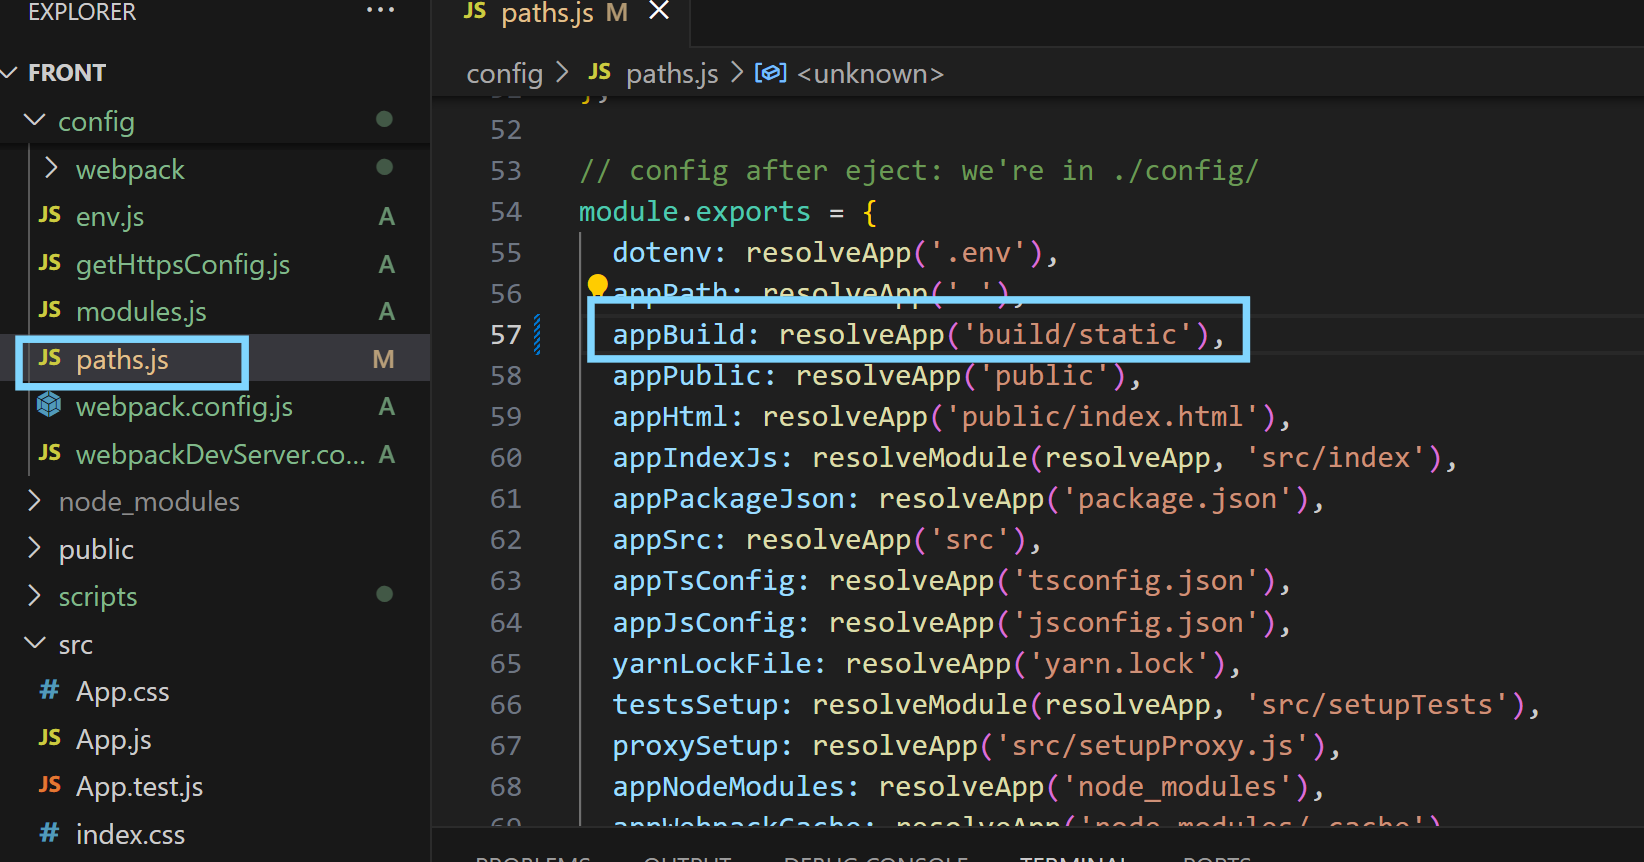
2) React 프로젝트 파일을 열어서 아래의 내용을 수정한다.
- paths.js에서 appBuild를 'build/static' 으로 수정한다.
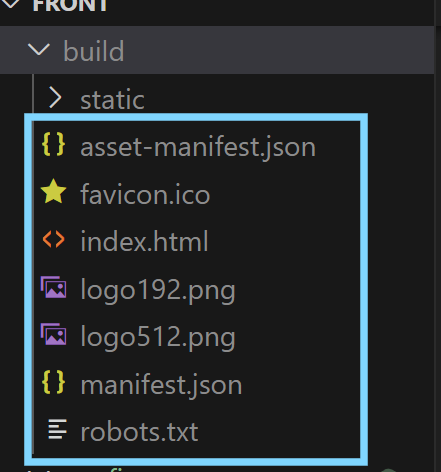
- build 하위에 있는 파일들을 삭제해준다.
Spring Boot 설정
Spring 프로젝트의 build.gardle 파일로 들어가서
def webappDir = "$projectDir/src/main/[react 프로젝트명]"

sourceSets {
	main {
		resources {
			srcDirs = ["$webappDir/build", "$projectDir/src/main/resources"]
		}
	}
}

processResources {
	dependsOn "buildReact"
}

task buildReact(type: Exec) {
	dependsOn "installReact"
	workingDir "$webappDir"
	inputs.dir "$webappDir"
	group = BasePlugin.BUILD_GROUP
		if (System.getProperty('os.name').toLowerCase(Locale.ROOT).contains('windows')) {
			commandLine "npm.cmd", "run-script", "build"
		} else {
			commandLine "npm", "run-script", "build"
		}
}

task installReact(type: Exec) {
	workingDir "$webappDir"
	inputs.dir "$webappDir"
	group = BasePlugin.BUILD_GROUP
	if (System.getProperty('os.name').toLowerCase(Locale.ROOT).contains('windows')) {
		commandLine "npm.cmd", "audit", "fix"
		commandLine 'npm.cmd', 'install'
	} else {
		commandLine "npm", "audit", "fix"
		commandLine 'npm', 'install'
	}
}
위 코드를
▼ 아래코드 위쪽에 작성해 준다.
이때 첫 번째 줄에 있는 webappDir 경로에는 front 프로젝트명을 넣어준다.
tasks.named('test') {
	useJUnitPlatform()
}
테스트 코드 작성
backend
// TestController (추가)
import javax.servlet.http.HttpServletRequest;

import org.springframework.http.ResponseEntity;
import org.springframework.web.bind.annotation.PostMapping;
import org.springframework.web.bind.annotation.RequestMapping;
import org.springframework.web.bind.annotation.RestController;

@RestController
@RequestMapping("/api")
public class TestController {

	@PostMapping("/ip")
	public ResponseEntity<String> ip (HttpServletRequest request){
		// 요청 보낸 클라이언트 ip 반환
		return ResponseEntity.ok(request.getRemoteAddr());
	}
}
// WebConfig (추가)
import org.springframework.context.annotation.Configuration;
import org.springframework.web.servlet.config.annotation.CorsRegistry;
import org.springframework.web.servlet.config.annotation.WebMvcConfigurer;

@Configuration
public class WebConfig implements WebMvcConfigurer{

	/*
	 * 개발환경에서의 크로스 도메인 이슈 해결을 위한 코드. 운영 배포 시 14~15행 주석
	 */
	@Override
	public void addCorsMappings(CorsRegistry registry) {
		registry.addMapping("/api/**").allowCredentials(true).allowedOrigins("http://localhost:3000");
		WebMvcConfigurer.super.addCorsMappings(registry);
	}

}
frontend
// App.js (기존 파일 수정)
import React, { useState, useEffect } from 'react';
import './App.css';
import customAxios from './customAxios';

function App() {
  // IP주소 변수 선언
  const [ip, setIp] = useState('');

  // IP주소 값을 설정합니다.
  function callback(data) {
    setIp(data);
  }

  // 첫번째 렌더링을 다 마친 후 실행합니다.
  useEffect(
    () => {
      // 클라이언트의 IP주소를 알아내는 백엔드의 함수를 호출합니다.
      customAxios('/ip', callback);
    }, []
  );

  return (
    <div className="App">
      <header className="App-header">
        이 기기의 IP주소는 {ip}입니다.
      </header>
    </div>
  );
}

export default App;
// customAxios.js (추가 - src 하위)
import axios from 'axios'; // 액시오스

export default function customAxios(url, callback) {
  axios(
    {
      url: '/api' + url,
      method: 'post',

      /**
       * 개발 환경에서의 크로스 도메인 이슈를 해결하기 위한 코드로
       * 운영 환경에 배포할 경우에는 15~16행을 주석 처리합니다.
       *
       * ※크로스 도메인 이슈: 브라우저에서 다른 도메인으로 URL 요청을 하는 경우 나타나는 보안문제
       */
      baseURL: 'http://localhost:8080',
      withCredentials: true,
    }
  ).then(function (response) {
    callback(response.data);
  });
}
Build
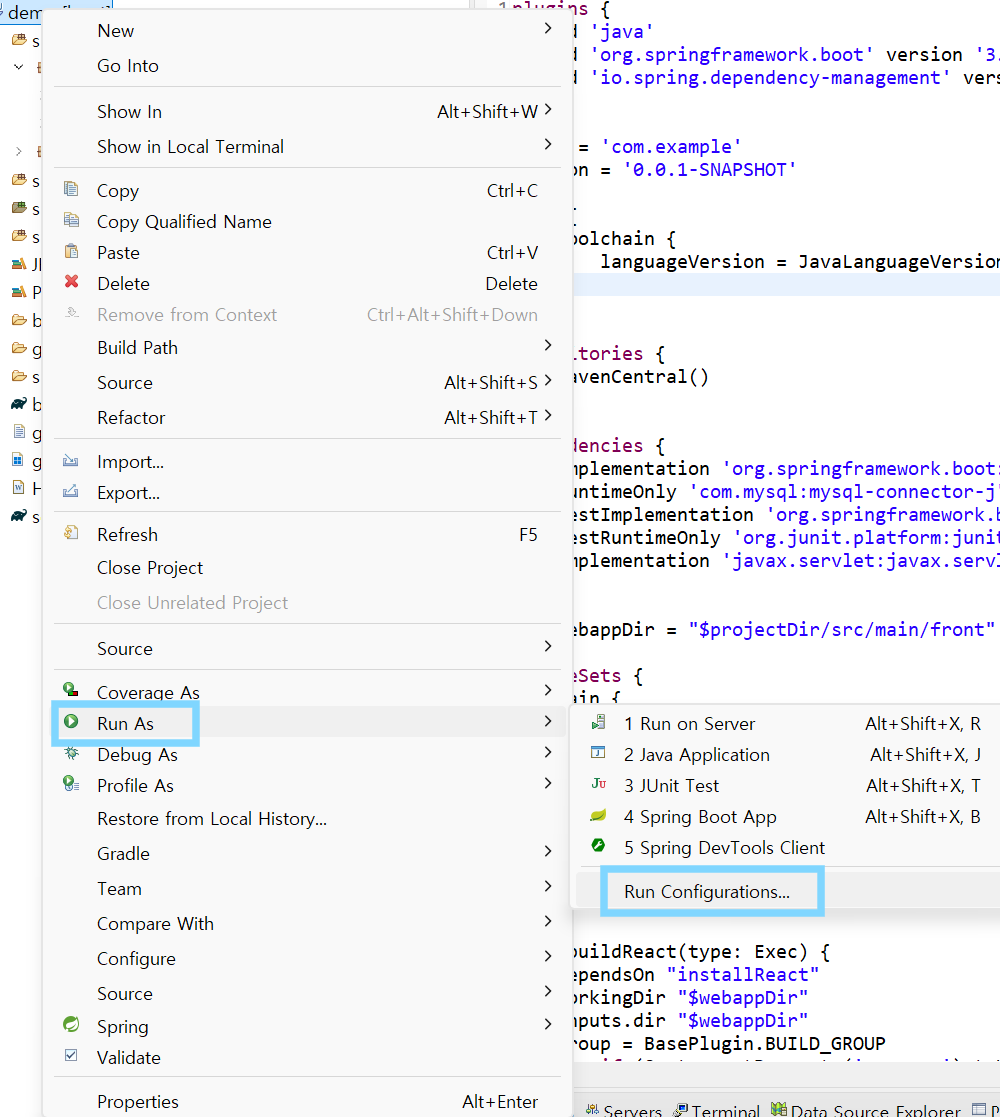
1) 이클립스에서 프로젝트 우클릭 -> Run As -> Run Configurations 클릭
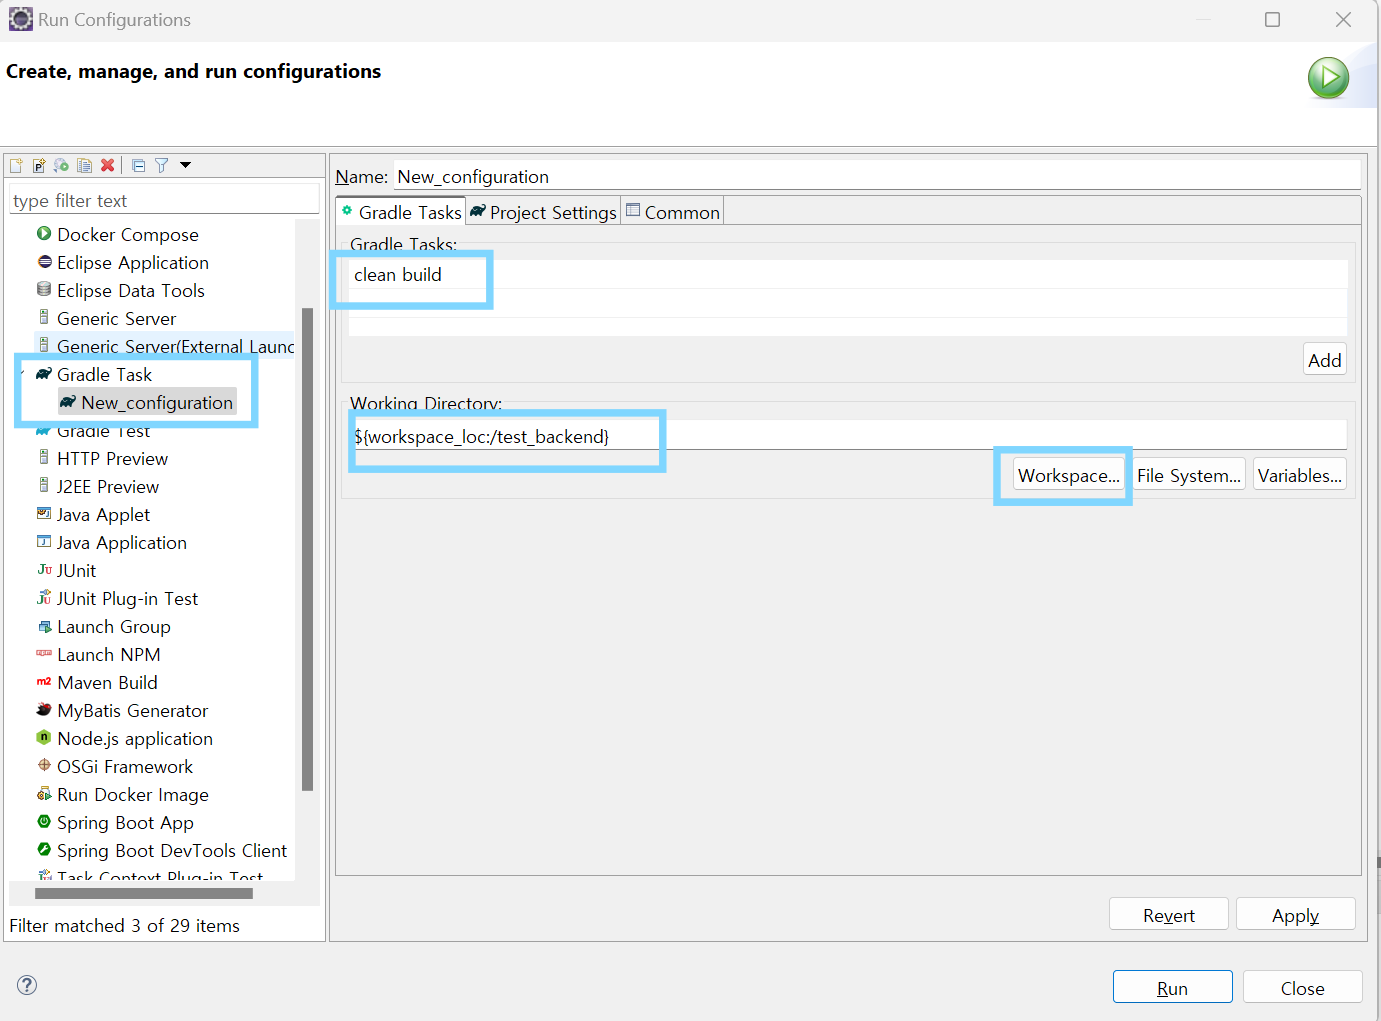
2) Gradle Task 하위의 New_configuration 선택하고
Gradle Tasks에는 clean build를 입력, Working Directory는 Workspace를 눌러 현재 프로젝트를 선택한다.
그리고 Apply -> Run 순으로 클릭!
3) 하단의 Gradle Executions 탭을 눌러 들어간다!
아래와 같이 모두 녹색으로 빌드가 된다면 정상!

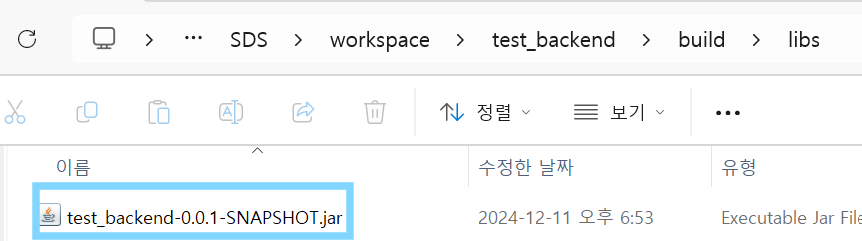
4) 빌드가 성공했다면 프로젝트 폴더/build/libs 폴더에
.jar 파일이 생성되어 있다!
5) cmd창에서 build/libs 폴더로 이동한 후 jar 파일을 실행시킨다.
java -jar jar파일명
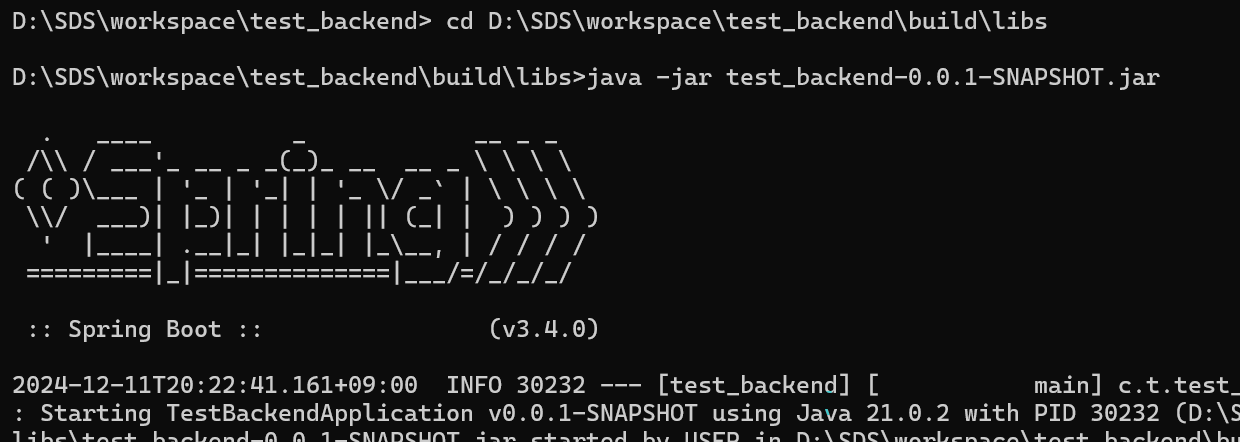
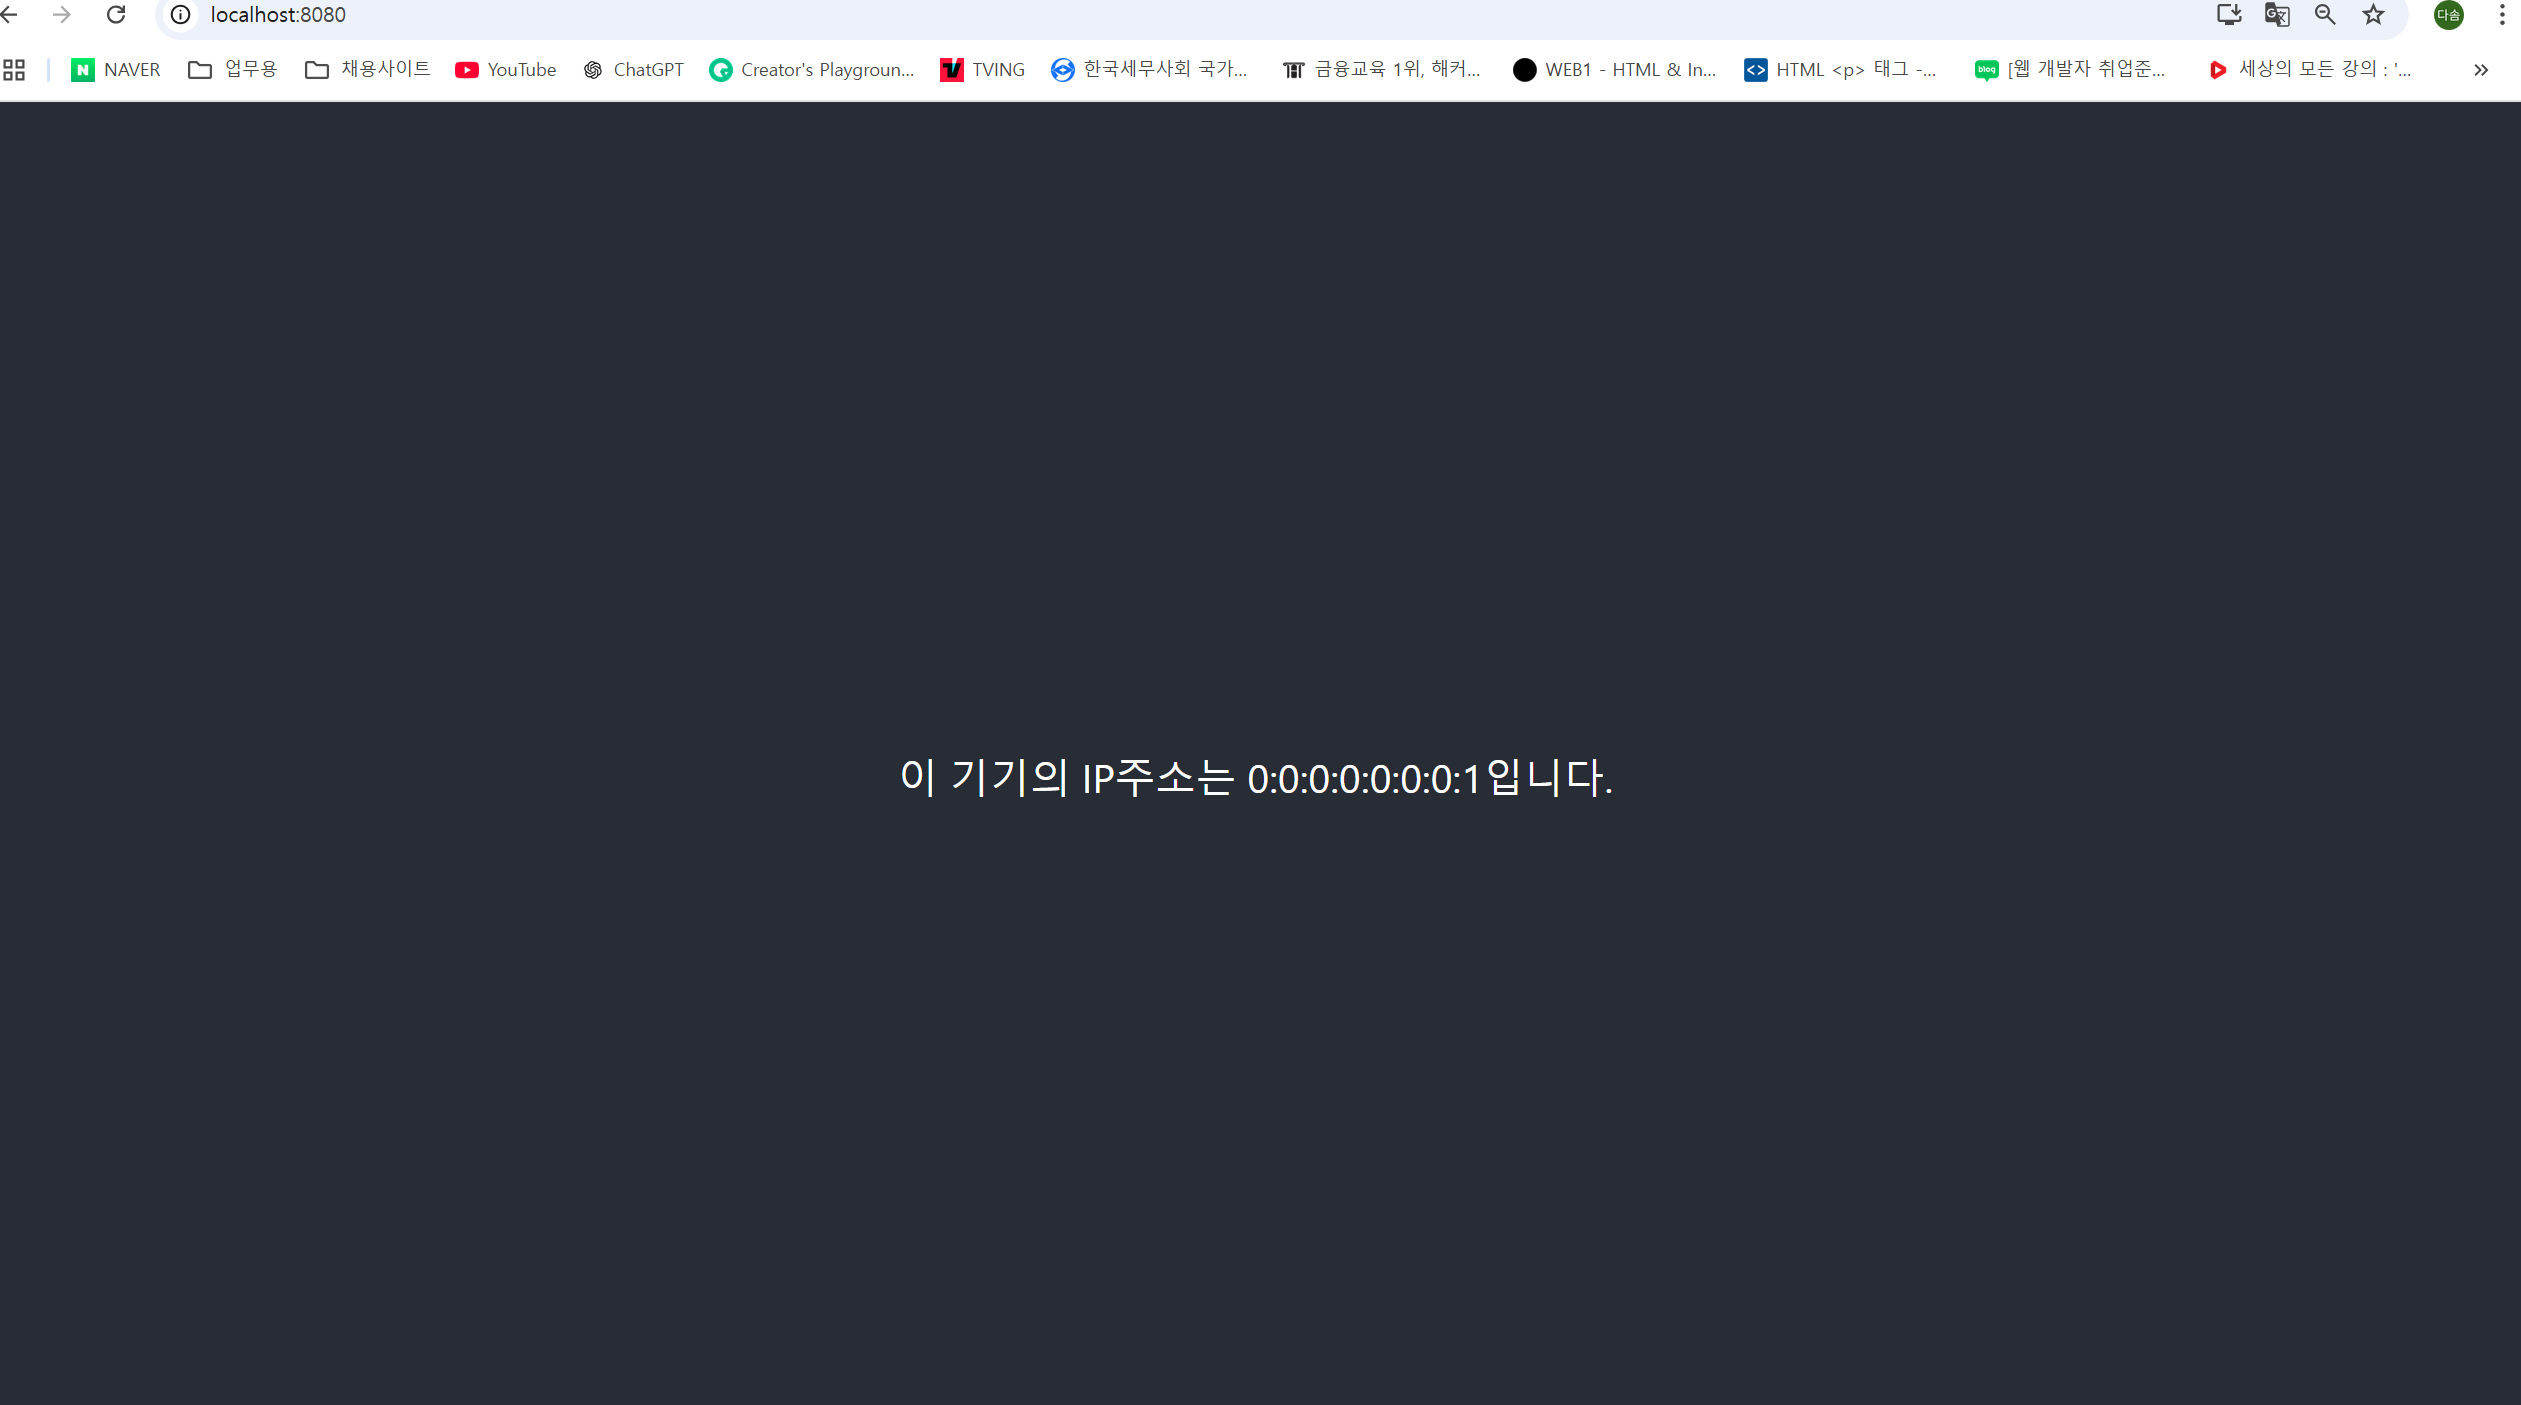
6) 정상적으로 구동되었다면
http://localhost:8080 페이지로 접속한다 -> 그럼 위에서 추가한 코드의 내용을 웹 페이지에서 확인할 수 있다!
'Spring' 카테고리의 다른 글
| [Spring] WAR와 JAR의 차이점 (0) | 2024.12.17 |
|---|---|
| [Spring] DAO와 Mapper 인터페이스 (0) | 2024.12.16 |
| [Spring] Spring Boot + React 프로젝트 생성 1 (0) | 2024.12.10 |
| [Spring] Maven과 Gradle 차이 (0) | 2024.12.10 |
| [Mybatis] 마이바티스의 특징과 Eclipse 플러그인 설치 (2) | 2024.11.04 |